Freeing Up Disk Space on Mac (DIY)
May 28, 2022
Freddy

Running out of disk space? Storage on Mac OS X gets used up quickly and mysteriously. This article is a comprehensive guide to freeing up disk space without tools like CleanMyMac. In the process of doing so, we’ll also discover exactly where all our big folders are. This article is written with respect to Mac OS X Catalina, but is perfectly applicable to other Mac operating systems.
We’ll start off with some surface checks.
Click the Apple icon on the top left, then click About This Mac. Click on
Storage.
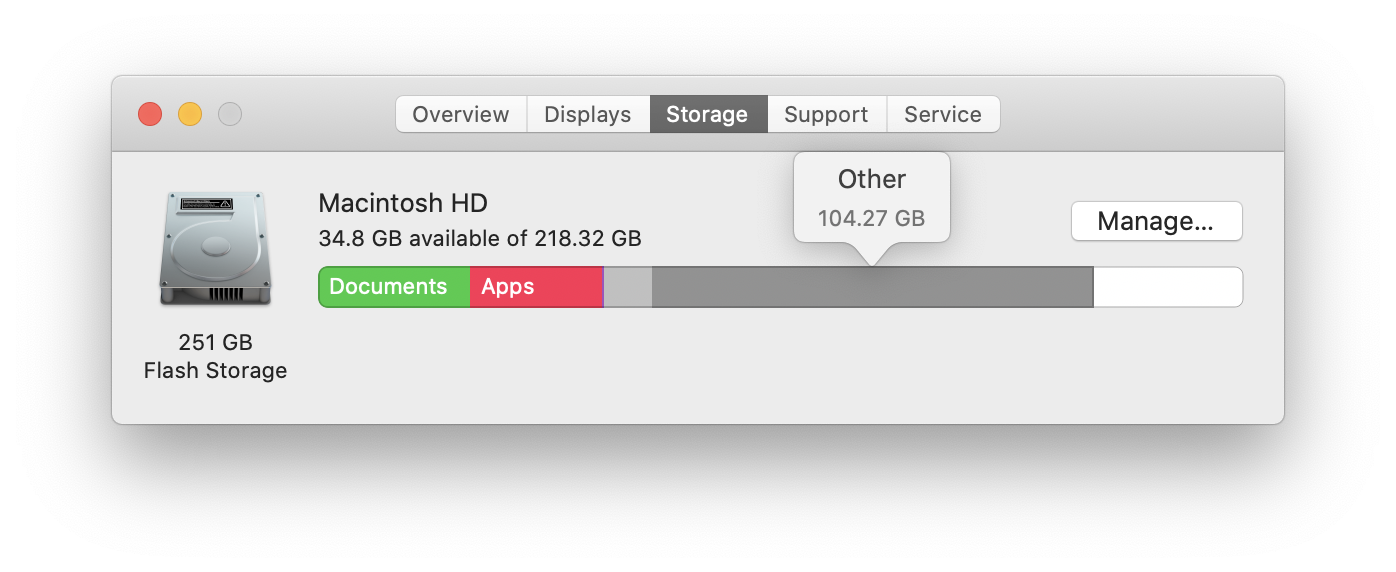
Chances are the dark grey bar is quite long. If you hover over it, this bar
represents files categorised as Other. The later parts of this article will
primarily be on this section. For now, click Manage....
On the sidebar, the other 2 large categories should be Applications and
Documents. If you click on Applications, we have our list of applications,
sorted by size. You can also force the list to be ordered by size by clicking on
it.

Note that the displayed size is the raw size of the app, not including any metadata and cache. If you delete an app here, you’ll also want to manually delete its associated cache to free up more space (which we’ll look at later).
Let’s move on to Documents. Here, you can view and delete large files you no
longer need, and unsupported apps. Under Downloads, you can also delete large
zip files and installer dmg files.
If you have long HD videos, they’ll appear near the top. Videos are one of the
largest types of files, because they’re essentially thousands of images! No
compression algorithm can shrink videos to significantly small sizes. On
Windows, you have the option to store them on the D: Drive, but on Mac, we
don’t have one. Maybe it’s time to consider Cloud storage like Google Drive for
such files?
The more interesting category is the File Browser. Here, you may find a
Library folder that is quite large.

Inside it, there are 2 main folders of interest. Let’s first look at Caches.
This is temporary data used to speed up applications. If you uninstall an
application, the cache becomes useless, so you should also delete that. As an
example, the entire Chrome folder can be deleted if Google Chrome
is uninstalled.

In fact, you can safely delete the entire Caches folder! This is what some junk cleaning apps do. But, you should not do that and there are 2 reasons.
- As mentioned, cache is used to speed up applications. If you delete cache, your applications run slower (until the cache is built up again, then it goes back to normal).
- When the cache is built up again, it uses storage space. This means you will only be freeing storage temporarily, so it becomes redundant in the long term. Therefore, it’s only useful to delete cache for uninstalled applications.
Some cache folders have seemingly obscure names, like com.spotify.client. But,
these are no different, and you can safely delete it if you uninstall Spotify,
for example.
The other folder is Application Support. This contains metadata and even more
cache. You can also delete the respective folder for uninstalled apps.

What about these categories?
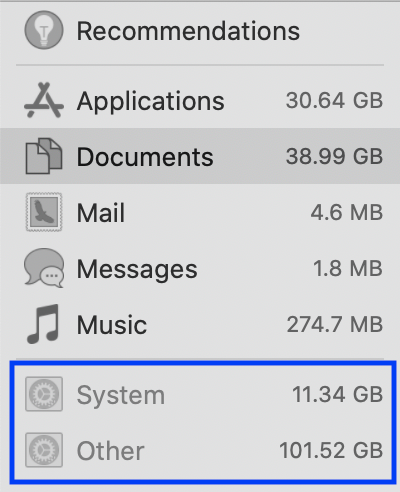
System is the operating system. It’s large. It’s mandatory. But, what about
Other?
Exploring the Other category
Open a Finder window and press CMD + SHIFT + G. In the popup, type /.
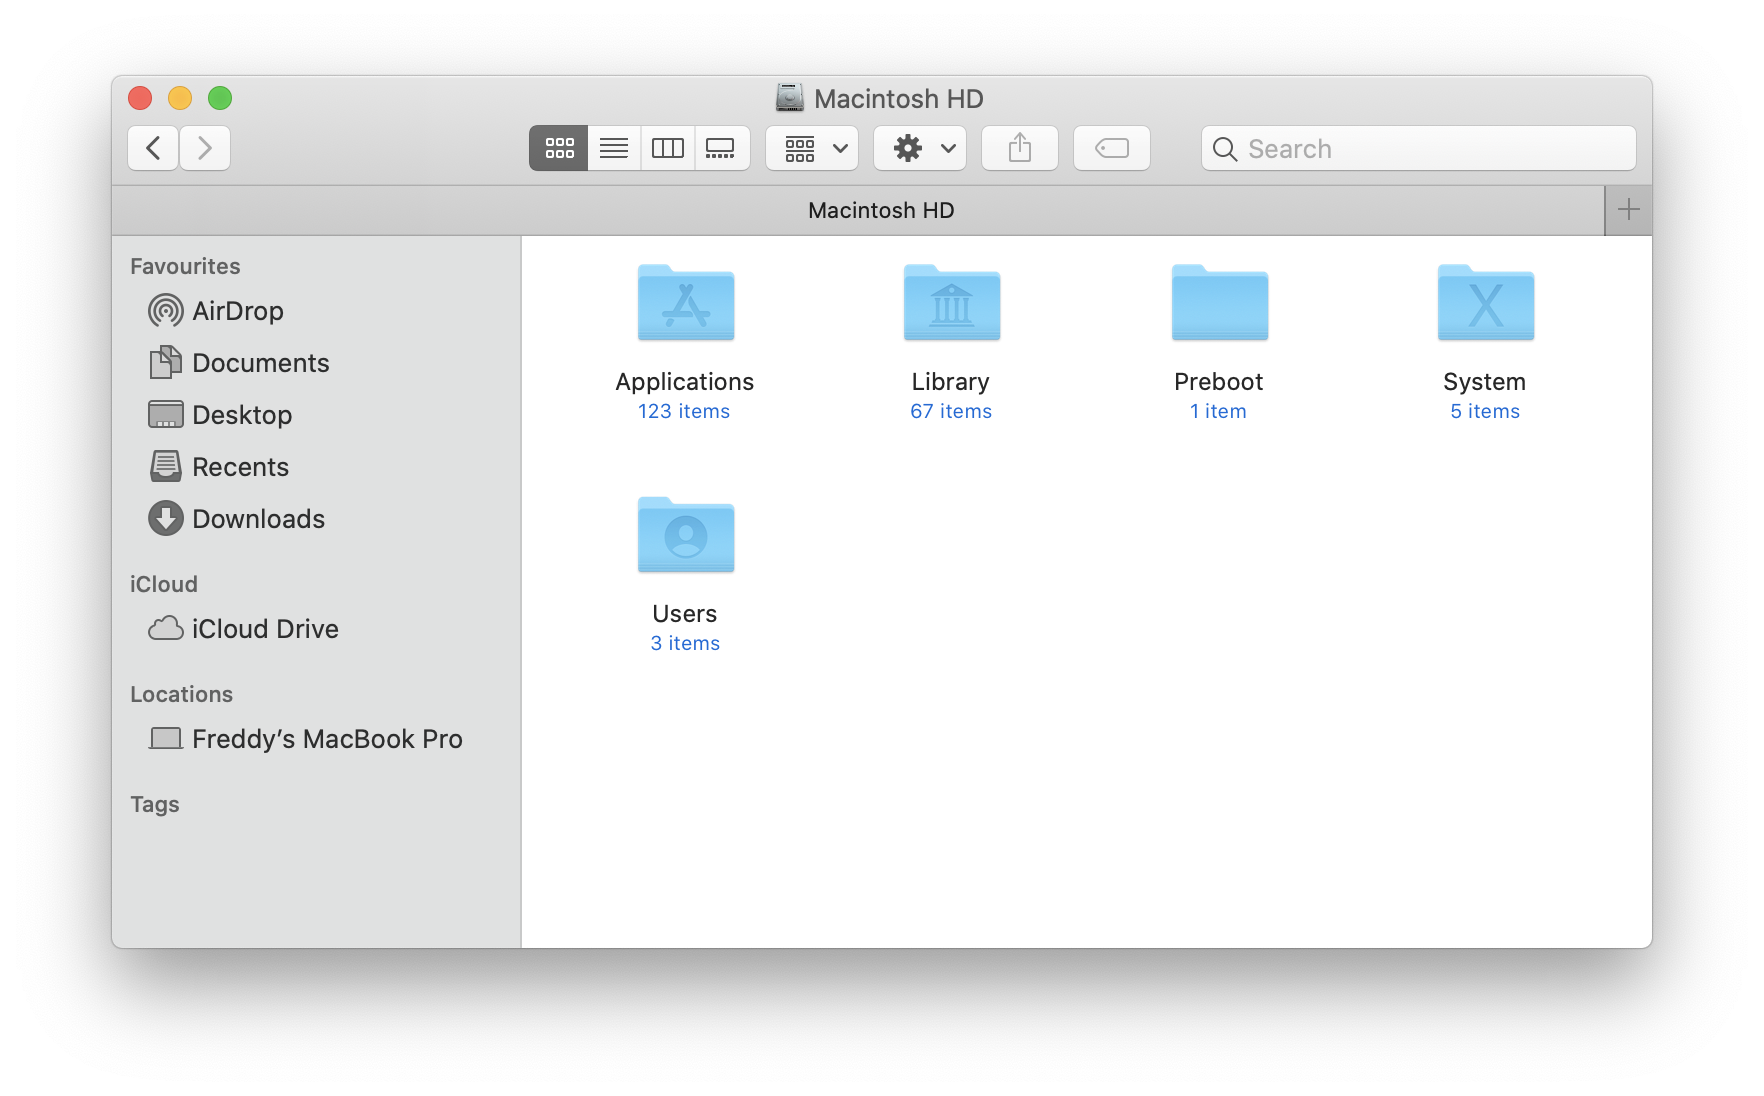
You should now be here. This is the root directory. Every folder or file on your
computer can be accessed from here. For example, you can reach the Desktop via
Users > your_username > Desktop. Our big friend Library is here as well.
Now press CMD + SHIFT + ..
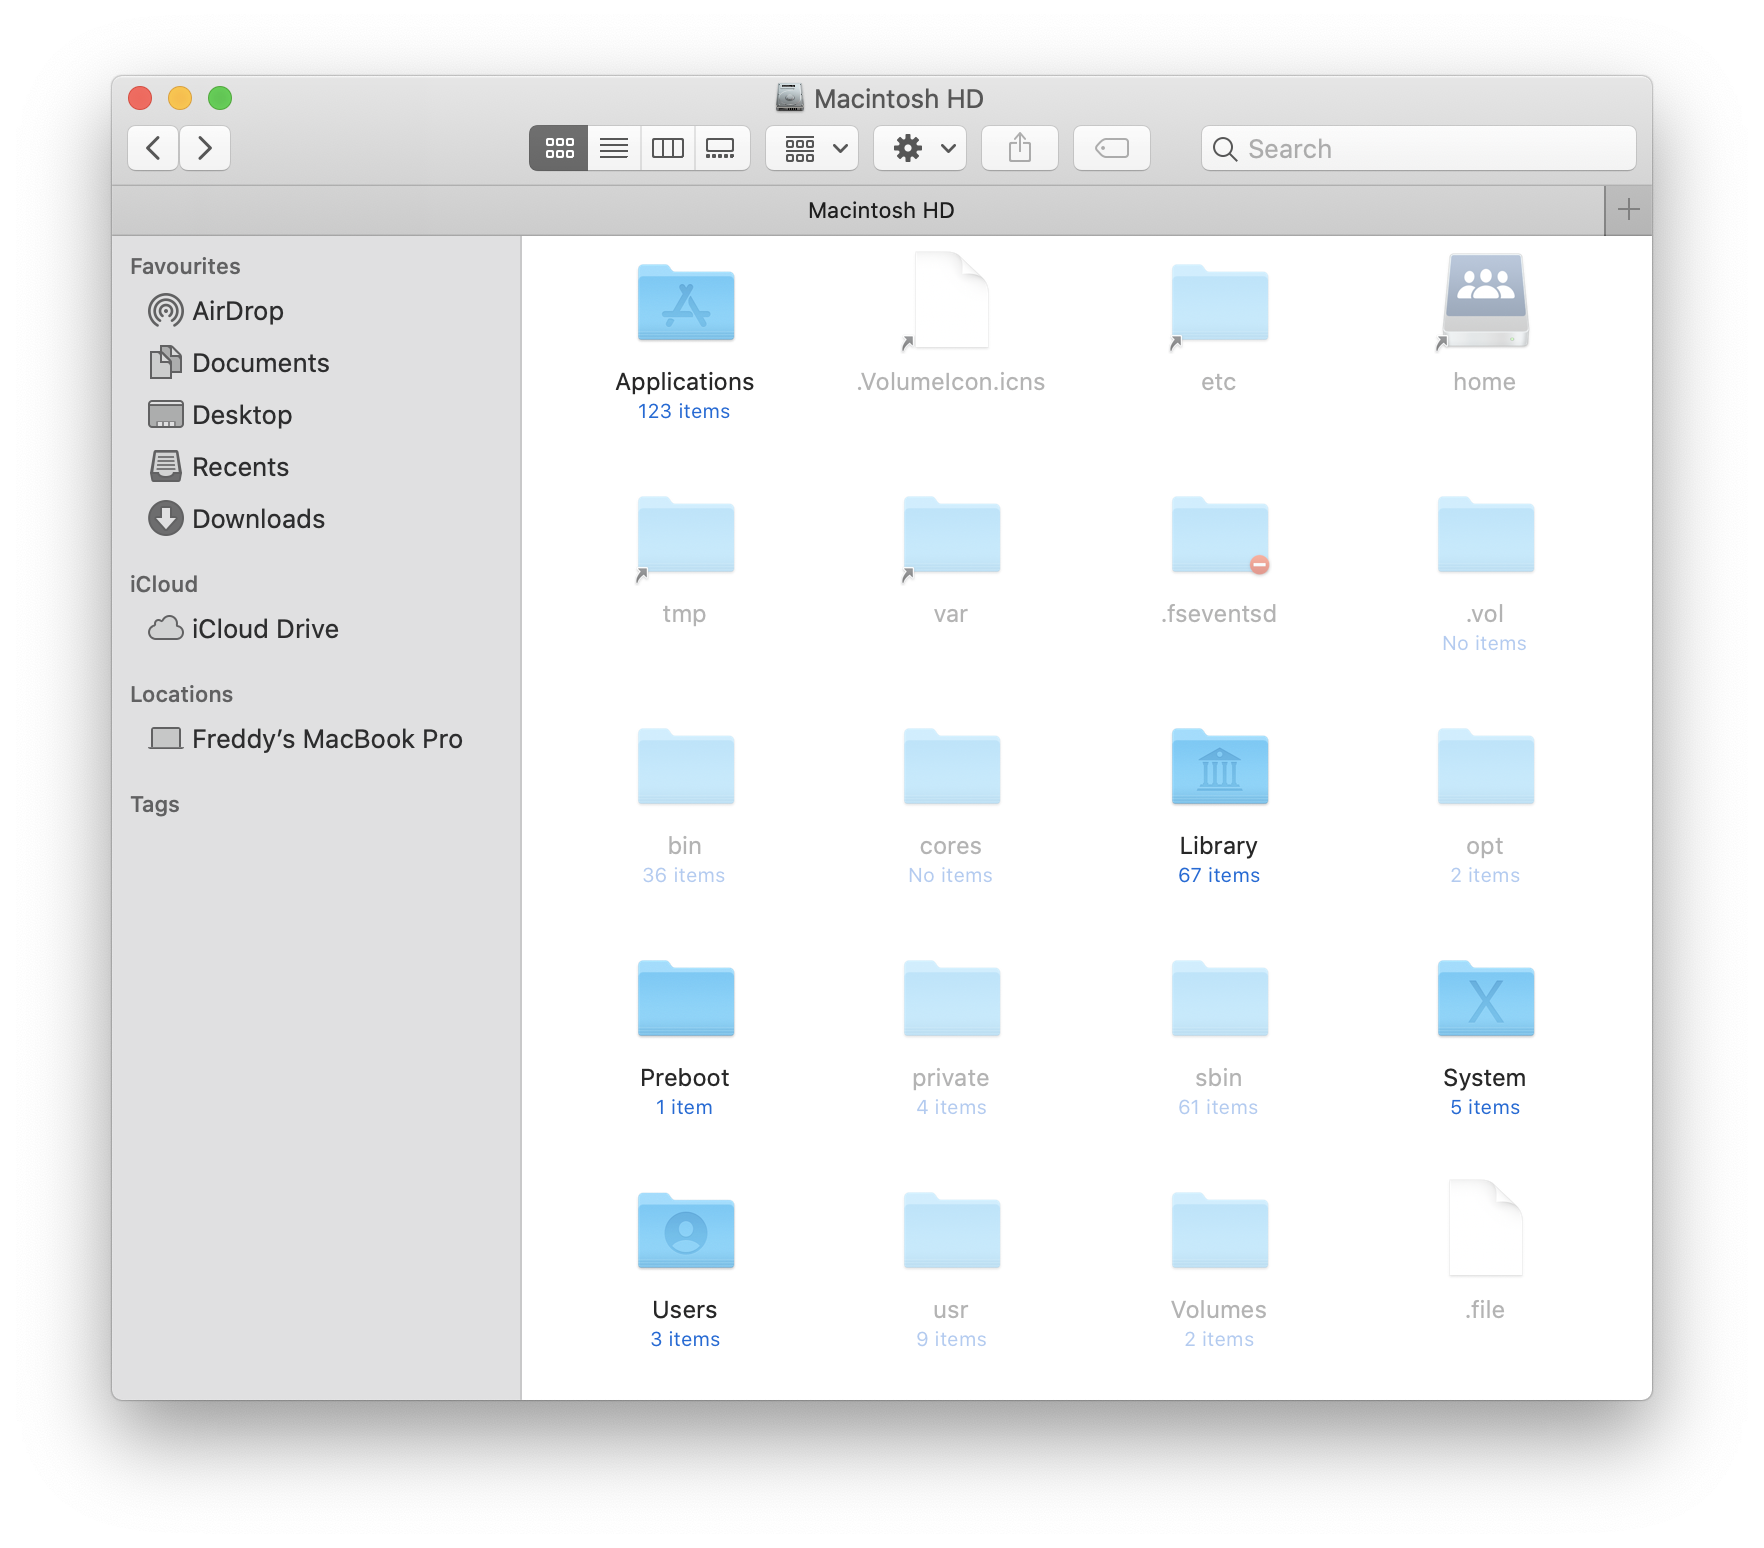
Boom! This reveals hidden folders and hidden files. These files are hidden by default, as they’re usually system files that users do not need to interact with. You can explore inside these hidden folders without harm.
How big are the hidden folders?
Short answer: really big. Mac labels a lot of these folders as part of the
Other category.
The simplest way to explore the folders is through the command line. Press
CMD + SPACE and open Terminal. Type the following command, and hit enter.
(Note: by convention, we prepend each command with a $. The actual command you
type is cd /.)
$ cd /
We’re back at Root, this time via the command line. Let’s look at the folders in Root again.
$ ls

Applications Preboot      Users        bin          dev          home         private      tmp          var
Library      System       Volumes      cores        etc          opt          sbin         usr
The next command will scan the entire computer and list the largest folders and files.
Before I present the command, let’s talk about it. We’re going to exclude System
from our scan, since there’s a loop: System > Volumes > Macintosh HD and we’re
back at Root. Now, if we were to run the scan, Mac is smart enough to figure
this out, and will only scan the entire computer twice instead of infinitely.
However, this is still redundant.
The only other interesting folder in System is Library. This is not the
Library folder we previously looked at. This is the System Library. You can
select it in Finder and press CMD + i. Yup, it’s also pretty big.

Inside it, you can find large folders, like Desktop Pictures which is 2GB in
size. It’s just a bunch of photos (in fact, these are the default photos you can
select for your Desktop wallpaper), but they’re in such high definition that
they use up a lot of space! Oh well, nothing we can do. (As a side note to
Apple, why are we forced to keep them even if we never plan to use them?!)
Back to the command. Before running it, you can expect a lot of “Operations not permitted” messages. This is a good thing! These are files/folders that are so important that Mac is disabling you from trying to scan them.
Finally, the full scan will take a long time (give at least 20 minutes). You can tell your computer is making progress if the lovely “Operations not permitted” messages continue to pop up.
Alright, here it is.
$ du -I System -d 3 | sort -n
At the end of the scan, a long list of files and folders should be displayed. For example, here’s my summary which I have truncated. Note the number is the size in kilobytes.
46734408	./private/var
46739456	./private
80213152	./Applications
118021752	./Users/freddy
118104696	./Users
303537212	.
From here on, the storage distribution depends on each user, but we will take a
look at 2 folders that are generally large. If this is not applicable for you,
hopefully you at least have a better understanding of what your storage space is
being used for. The folders we’ll analyse are usr and private.
Firstly, let’s analyse usr. Press CMD + SHIFT + G, then type /usr.
If you’ve ever used Visual Studio or the .NET Framework, a few gigabytes will
be occupied by local > share > dotnet. If you no longer plan to use such
services, this folder can be deleted. If you’ve ever used Homebrew, you will
find local > Cellar and local > Homebrew to be large. Both folders can be
deleted if the programs you installed via Homebrew are no longer needed. I would
advise against deleting them unless you really need the freed storage space.
As a side note, the entire local folder is safe to delete, although it may
cause inconveniences in the near future as you’ll have to reinstall some
programs you regularly use.
Now, let’s take a look at private. Similarly, press CMD + SHIFT + G and
type /private. The big folder here is var. From the scan summary, in general
there are 2 large entities: VM (the Virtual Machine, which you can ignore) and
folders.
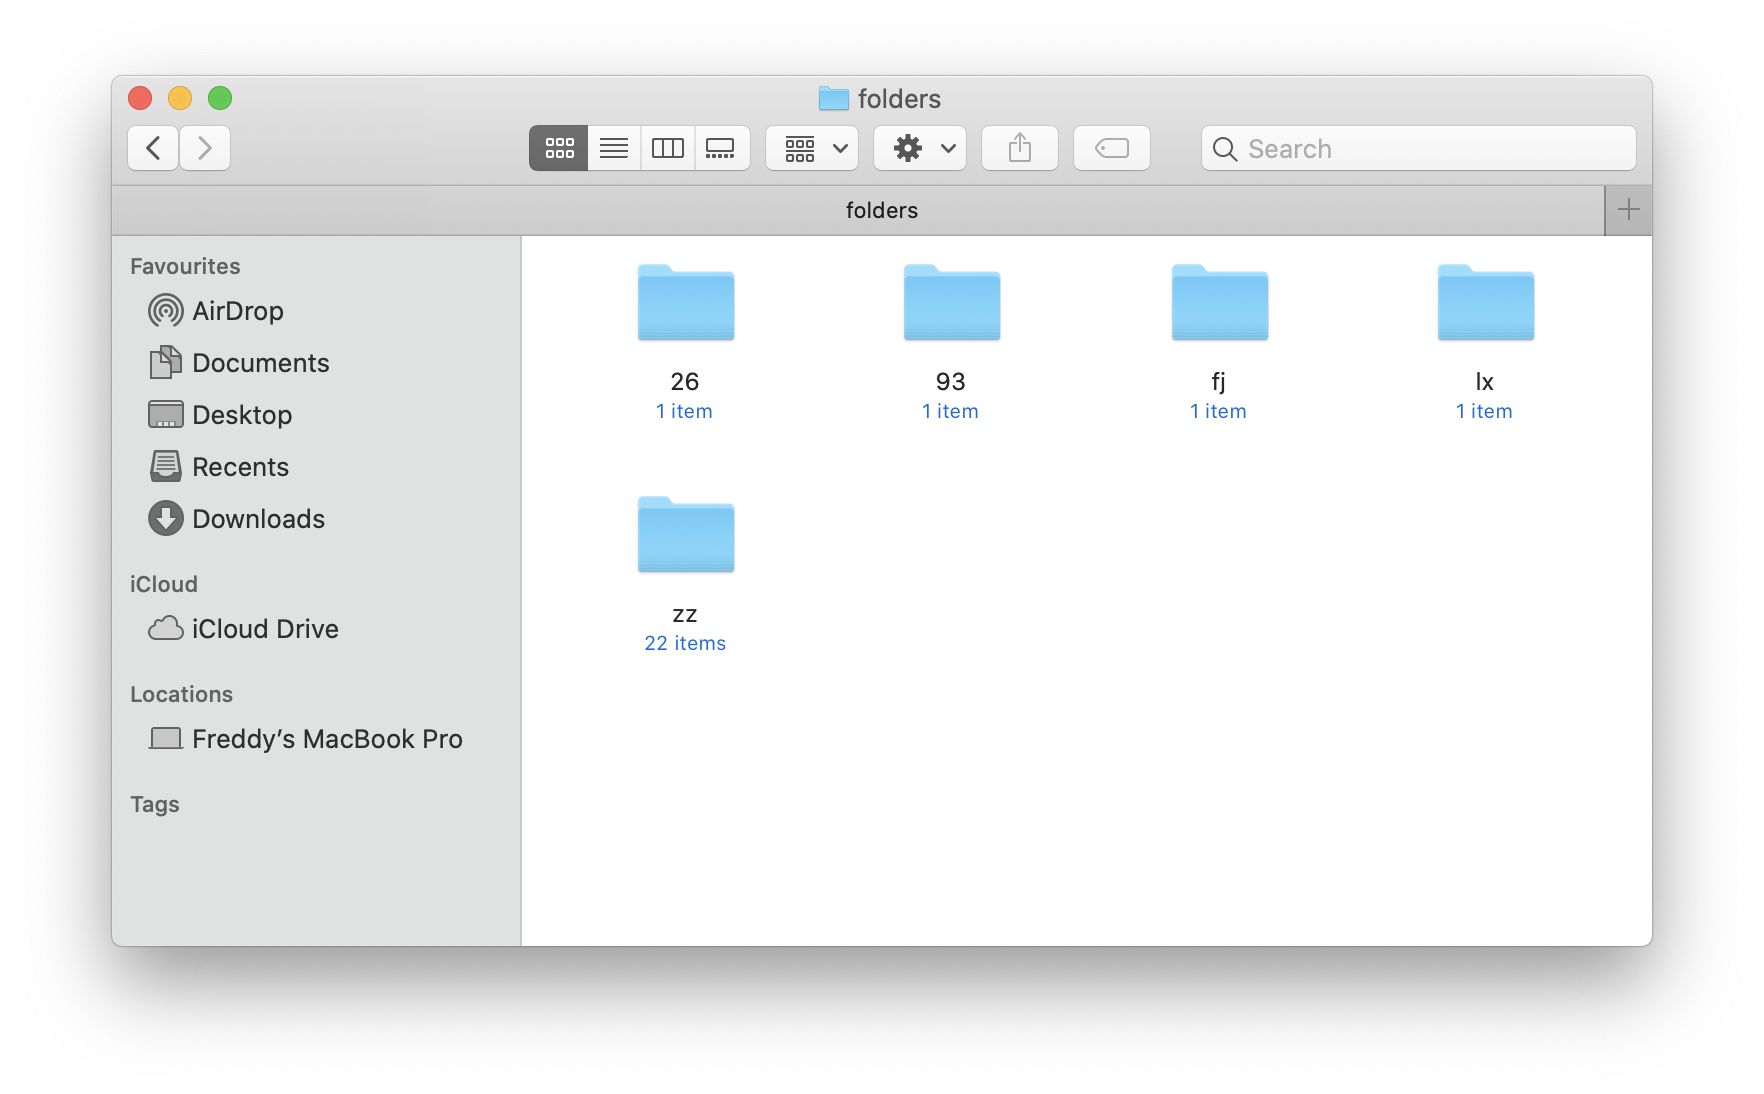
If you try to delete any of these folders, Mac will prevent you from doing so. It is possible to force delete them, but this might cause unwanted side effects. See this post for more details. It apparently contains cache that is periodically refreshed, but that is not true as you can find very old files there. That said, you can simply restart your computer and the folder shrinks significantly.
Further efforts
As previously mentioned, the storage distribution varies per user so it is unreasonable for this article to delve further into specifics.
You can further analyse the composition of big folders using Terminal by doing a scan within the folders.
$ cd path/to/big/folder
$ du -d 3 | sort -n
If you have multiple users set up, you can do a scan for each user.
What’s beautiful about using Terminal is that you are given so much more information compared to Mac’s System Information app. But given this exposure, you also need to be cautious and not tamper anything unless you are certain it is safe to do so. I like to call this a Scavenger Hunt, as you are hunting for large, unnecessary files to delete.
I hope this article has helped you free up disk space and strengthened your understanding about storage use on Mac OS X!
More Blog Posts
The Intuition behind Convolutional Neural Networks
The UCI Protocol for Chess Engines
Setting Up Unrestricted ChatGPT Locally on Mac
Histogram Equalisation for Colour Images
Enhancing Greyscale Image Contrast through Histogram Equalisation
On the Philosophy and Design Choices of this Site
Benchmarking Loops in JavaScript
Looping Through a List in JavaScript