Histogram Equalisation for Colour Images
Jun 6, 2023
Freddy

Histogram equalisation is a staple technique to increase image contrast in greyscale images. In this article, we take a look into how it can be adapted to be applied to colour images.
In a previous post, we explore how to enhance image contrast through histogram equalisation. Let’s remind ourselves of the technique.
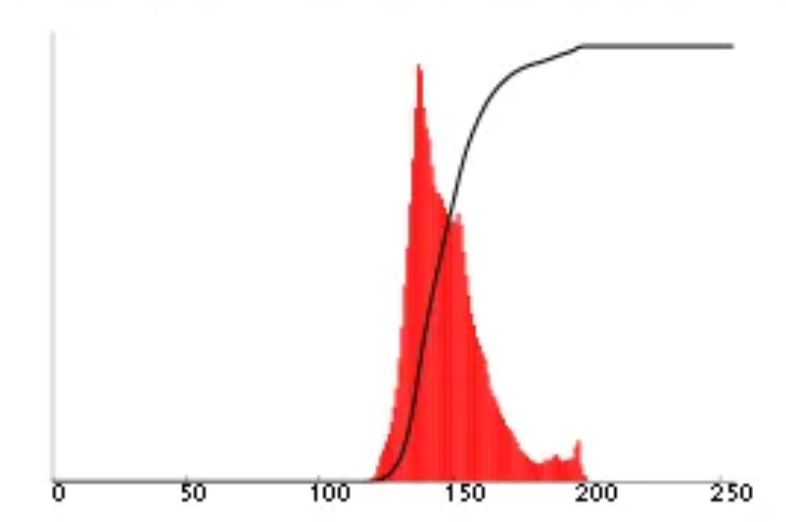
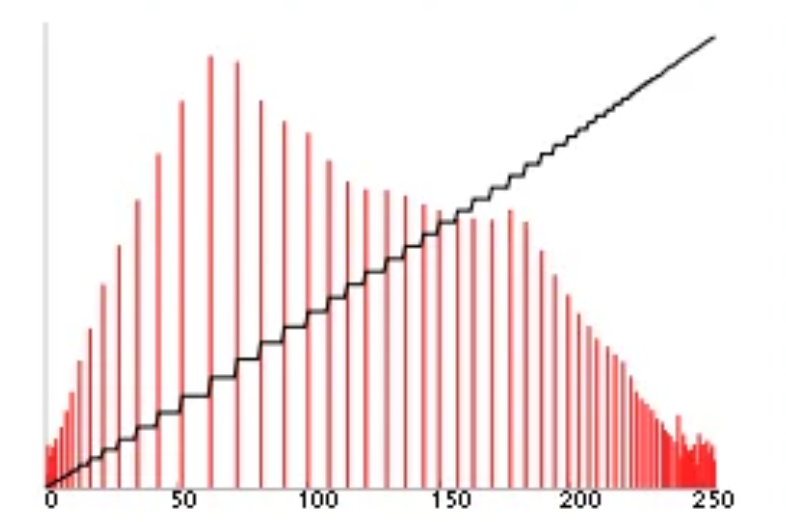
The idea of histogram equalisation is to build a histogram of pixel intensities, then flatten the histogram to spread out the intensities. Alternatively, we define a mapping such that the new CDF of the histogram is straight.


This is inherently a technique for greyscale images as it manipulates pixel intensities with a non-linear mapping.
What about colour images?
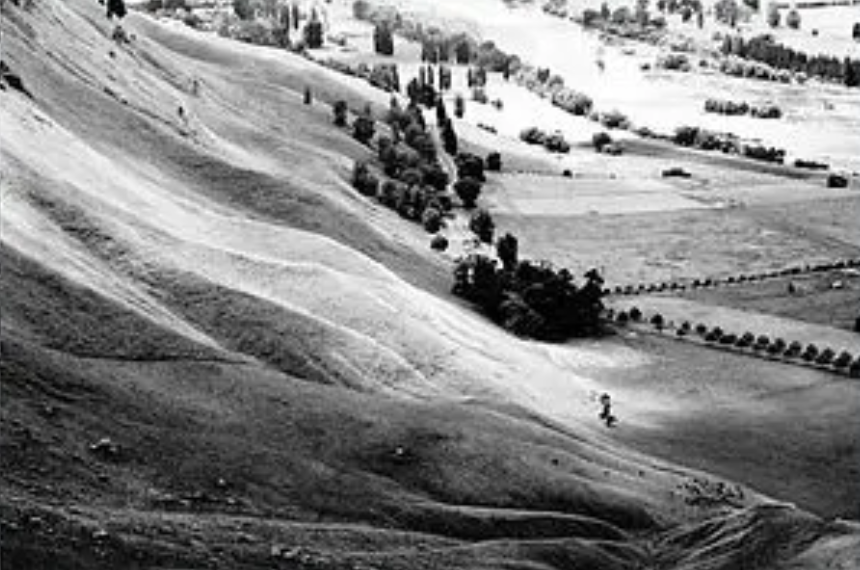
Before moving on, let’s try the demo!
(Note that this is somewhat inconsistent with different local display settings, so it may be a bit off for greyscale images.)

Colour images are usually stored as RGB: each pixel is a 3D vector (r, g, b) denoting its colour, where r corresponds to the intensity of red light, g for green and b for blue. As an example, (255, 0, 0) is red.
What if we just apply histogram equalisation separately to each of the 3 colour channels? Well, there’s a small problem.
Histogram equalisation applies a non-linear mapping to spread the pixel intensities evenly. This means the colour space of the original image is not preserved, as the resulting image will always have similar shades of red, green and blue. Obviously, that’s not what we want! If we want to enhance contrast of a red bag, we want the resulting bag to still be red.
Extracting raw intensity from RGB
The solution is to extract the raw intensities of each pixel from the RGB encoding, then perform histogram equalisation on that only.
Naively, one would try to get the raw intensity by taking the average value of (r, g, b). However, modern displays use the sRGB colour space. This is an improvement over the linear RGB space used by many cameras. In sRGB, the 3 colour channels have a non-linear relationship.
Instead, we will convert the image from RGB to a colour space that separates intensity, perform histogram equalisation in that colour space, then convert the resulting image back to RGB.
We will use YCbCr. YCbCr is a family of colour spaces that are comprised of 3 components: luma (Y) a.k.a. intensity, blue-difference chroma (Cb) and red-difference chroma (Cr).
In this article, we use the version defined by ITU-R BT.601 for standard-definition television. We source the conversion algorithm from the UG0639 User Guide for Color Space Conversion.
Here’s the details! (Note: scaling has applied so the range of Y, Cb and Cr are 0-255).
\[\begin{align} Y &= 16 + \frac{65.738}{256} R + \frac{129.057}{256} G + \frac{25.064}{256} B \\ Cb &= 128 - \frac{37.945}{256} R - \frac{74.494}{256} G + \frac{112.439}{256} B \\ Cr &= 128 + \frac{112.439}{256} R - \frac{94.154}{256} G - \frac{18.285}{256} B \end{align}\]This can be described in matrix notation. Let’s also express the equation for converting back to RGB.
\[\begin{align} M &= \begin{bmatrix} \frac{65.738}{256} & \frac{129.057}{256} & \frac{25.064}{256} \\ -\frac{37.945}{256} & -\frac{74.494}{256} & \frac{112.439}{256} \\ \frac{112.439}{256} & -\frac{94.154}{256} & -\frac{18.285}{256} \\ \end{bmatrix} & T &= \begin{bmatrix} 16 \\ 128 \\ 128 \\ \end{bmatrix} \\ \begin{bmatrix} Y \\ Cb \\ Cr \\ \end{bmatrix} &= M \begin{bmatrix} R \\ G \\ B \\ \end{bmatrix} + T & \begin{bmatrix} R \\ G \\ B \\ \end{bmatrix} &= M^{-1} \left( \begin{bmatrix} Y \\ Cb \\ Cr \\ \end{bmatrix} - T \right) \end{align}\]Updating the code
Let’s continue from our code for greyscale images (post and code).
Start by defining the constants. We use math.js for matrix support in JavaScript.
const YCBCR_MATRIX = [
    [65.738/256, 129.057/256, 25.064/256],
    [-37.945/256, -74.494/256, 112.439/256],
    [112.439, -94.154/256, -18.285/256]
];

const YCBCR_CONST = math.transpose([16, 128, 128]);
Now, let’s write the conversion between RGB and YCbCr.
/*
    pixels: Uint8ClampedArray
    return: array

    We return a normal array since YCbCr values are not clamped between 0-255.
*/
function rgb_to_ycbcr(pixels) {
    ycbcr_pixels = [];

    for (let i = 0; i < 4; i += 4) {
        const r = pixels[i];
        const g = pixels[i + 1];
        const b = pixels[i + 2];

        // UG0639: Color Space Conversion User Guide

        const ycbcr = math.add(
            YCBCR_CONST,
            math.multiply(YCBCR_MATRIX, math.transpose([r, g, b]))
        );

        ycbcr_pixels.push(ycbcr[0]);
        ycbcr_pixels.push(ycbcr[1]);
        ycbcr_pixels.push(ycbcr[2]);
        // For consistency: alpha channel
        ycbcr_pixels.push(pixels[i + 3]);
    }

    return ycbcr_pixels;
}

/*
    pixels: array
    to_arr: Uint8ClampedArray
    return: Uint8ClampedArray

    We want to return Uint8ClampedArray as we need to render the image. However,
    JavaScript encapsulates the construction of a Uint8ClampedArray object.
    Therefore, we pass in to_arr which is the data of our original image, and
    replace its values.
*/
function ycbcr_to_rgb(pixels, to_arr) {
    for (let i = 0; i < pixels.length; i += 4) {
        const y = pixels[i];
        const cb = pixels[i + 1];
        const cr = pixels[i + 2];

        // UG0639: Color Space Conversion User Guide

        const rgb = math.multiply(
            math.inv(YCBCR_MATRIX),
            math.subtract(math.transpose([y, cb, cr]), YCBCR_CONST)
        );

        to_arr[i] = rgb[0];
        to_arr[i + 1] = rgb[1];
        to_arr[i + 2] = rgb[2];
    }

    return to_arr;
}
Finally, we update the equalise function to incorporate converting between
colour spaces.
// Perform histogram equalisation on image
function equalise(pixels) {
    // Convert to YCbCr
    ycbcr_pixels = rgb_to_ycbcr(pixels);

    // Intensity histogram
    const histogram = Array(256).fill(0);
    for (let i = 0; i < pixels.length; i += 4) {
        index = pixels[i];
        histogram[index]++;
    }

    // Normalise histogram and create pixel mapper from cumulative histogram
    const mapper = [];
    let sum = 0;

    for (let i = 0; i < histogram.length; i++) {
        histogram[i] /= (pixels.length / 4);

        sum += histogram[i];
        mapper.push(Math.floor(sum * (histogram.length - 1)));
    }

    // Update pixels
    for (let i = 0; i < pixels.length; i += 4) {
        intensity = mapper[pixels[i]];
        // Update Y component only
        pixels[i] = intensity;
    }

    // Convert back to RGB
    rgb_pixels = ycbcr_to_rgb(ycbcr_pixels, pixels);

    return pixels;
}
And that’s it! As always, my full source code is provided. This is the program I used for the interactive demo at the start of the article.
More Blog Posts
The Intuition behind Convolutional Neural Networks
The UCI Protocol for Chess Engines
Setting Up Unrestricted ChatGPT Locally on Mac
Histogram Equalisation for Colour Images
Enhancing Greyscale Image Contrast through Histogram Equalisation
On the Philosophy and Design Choices of this Site
Benchmarking Loops in JavaScript
Looping Through a List in JavaScript